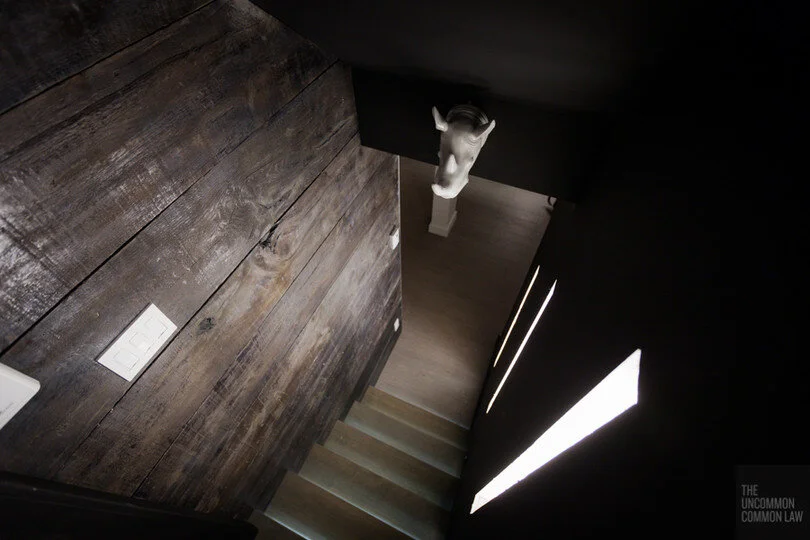
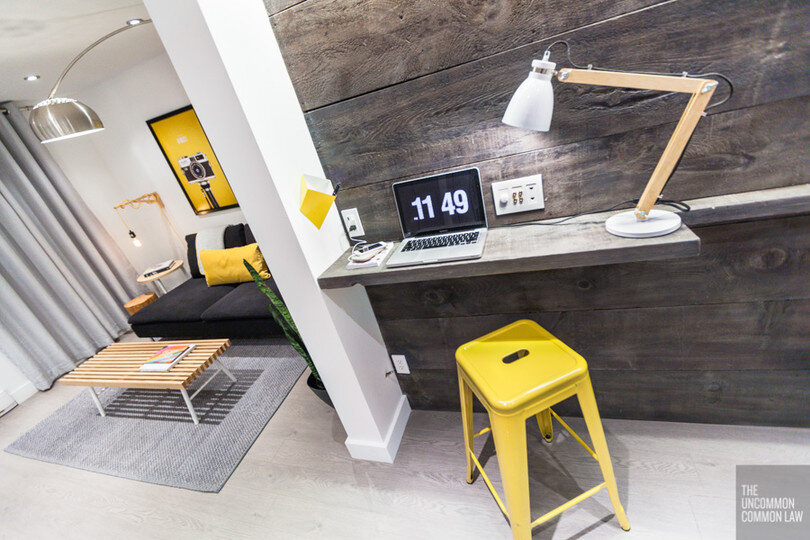
DIY: Torched Wood Accent Wall

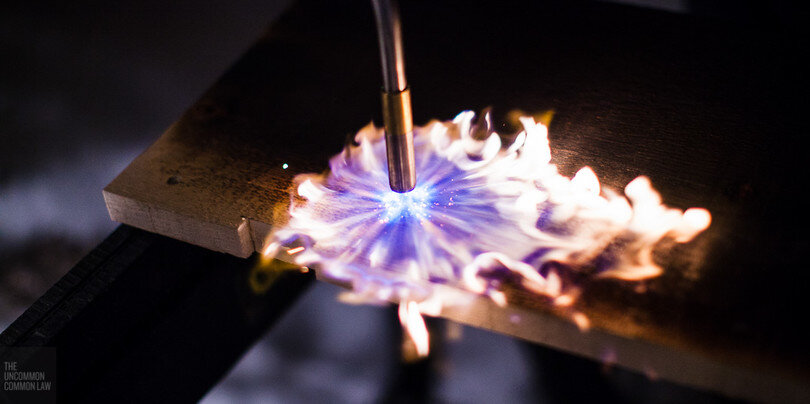
For the final round of the CWTS contest, we scrambled to finish our basement renovation which included the staircase leading down to the basement. The whole "reclaimed wood" wall has been all the rage lately, but we wanted to put a bit of a different spin on it. There's a million and one different tutorials online that various procedures people have concocted (some with a million steps too), each giving a slightly different effect. As per usual, we wanted a neutral colour and really racked our brains on how to achieve that perfect charcoal colour. As well, we wanted a process that didn't have too many steps since we were on a time crunch. Then (with a brief flashback to a surreal moment from my childhood when my house was reduced to a charred frame after getting struck by lighting) it hit is: "we're trying to achieve charcoal colour... why not just burn it??" A quick google search showed that this was nothing new and that the Japanese have been doing it for years in a process called "shou sugi ban". We did some extensive testing and came up with our own recipe for that perfect frame broiled taste look.
Materials
-Wood (We used rough pine from Home Depot)
-Jig saw
-Blow torch (We used a handheld BernzOmatic TS8000 with MAP cylinder, but you can get larger propane torches that will get the job done faster)
-Junction box extenders (if there are electrical devices on your wall)
-Screws (we used drywall screws to match the dark colour of the wall)
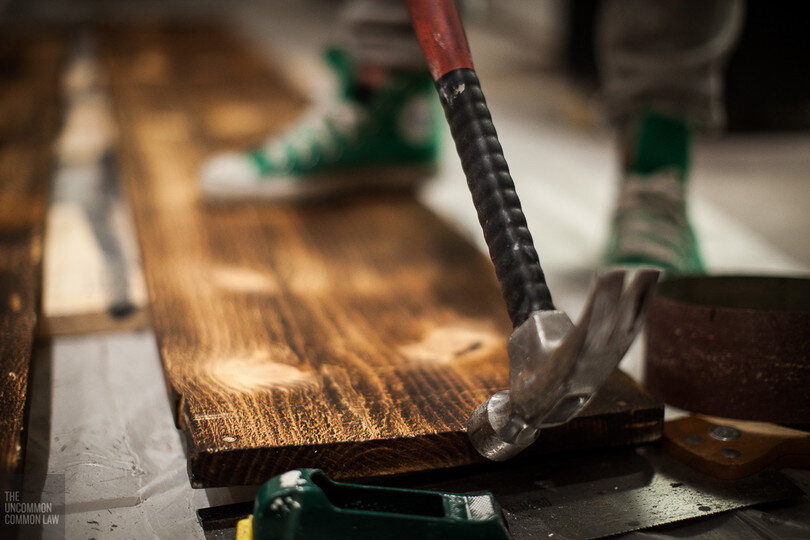
-Hand tools to beat up the wood
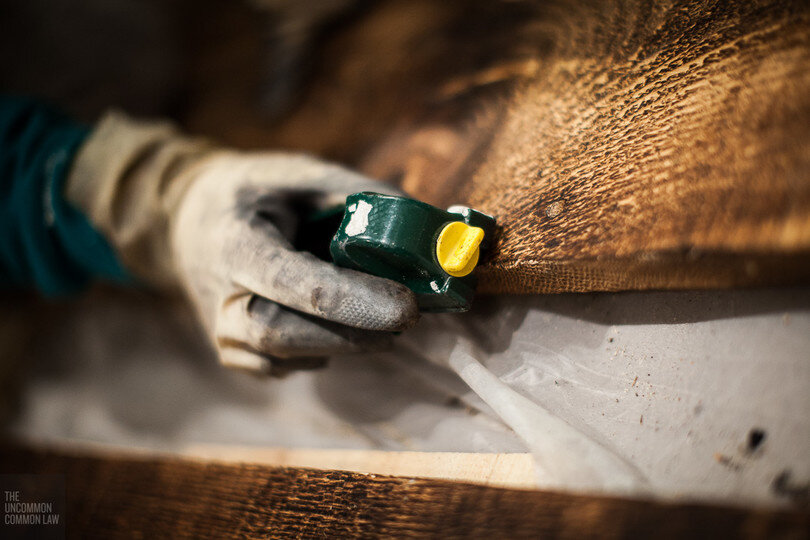
-Minwax Classic Gray stain
-Cloth
-Latex gloves
-Varathane satin finish (with HVLP gun + compressor, or use aerosol version of product)
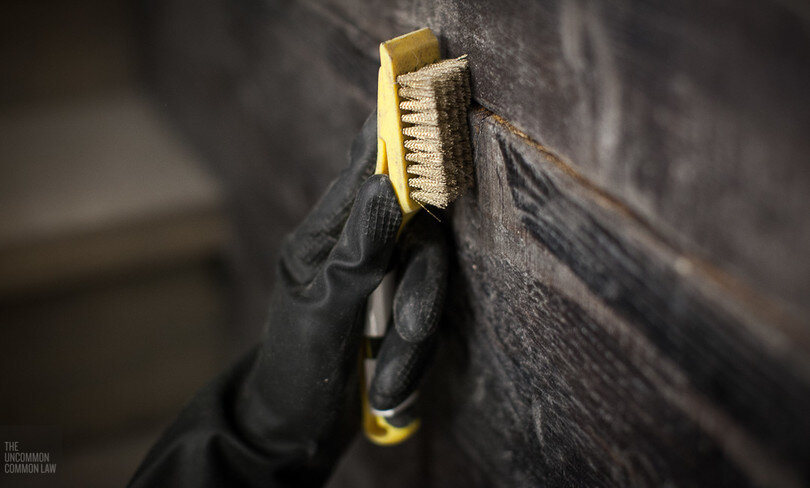
-Wire brush (optional)
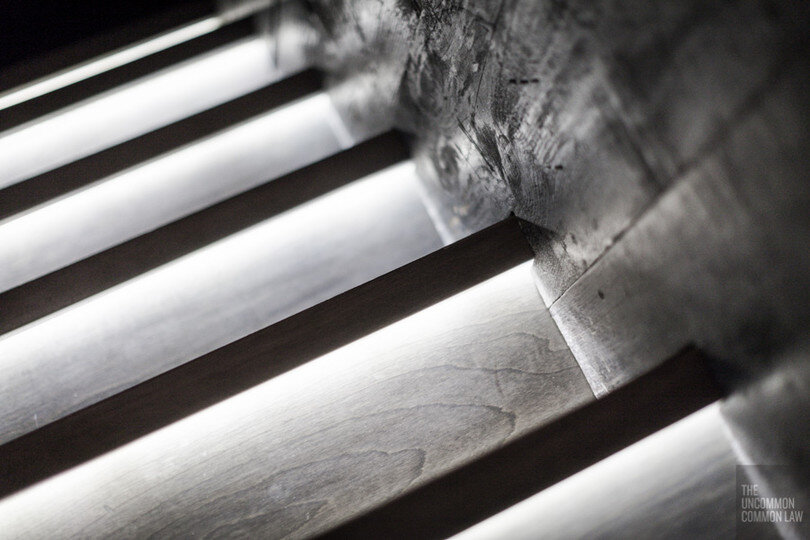
Wood
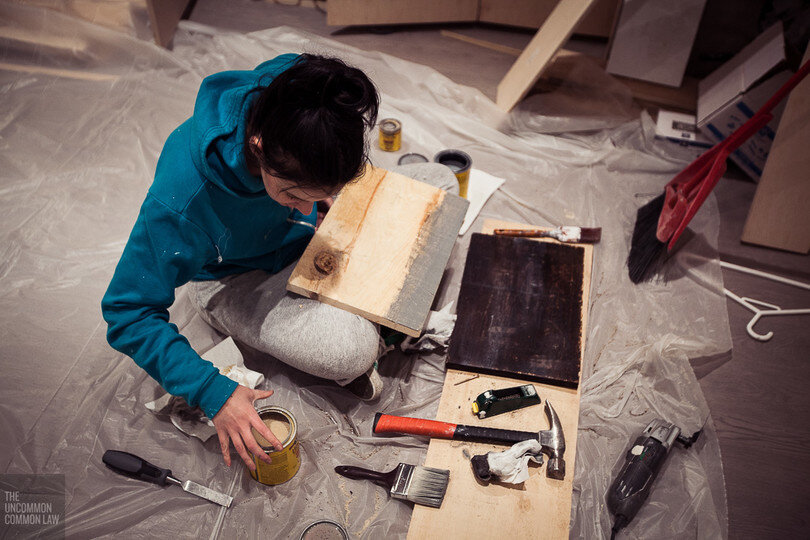
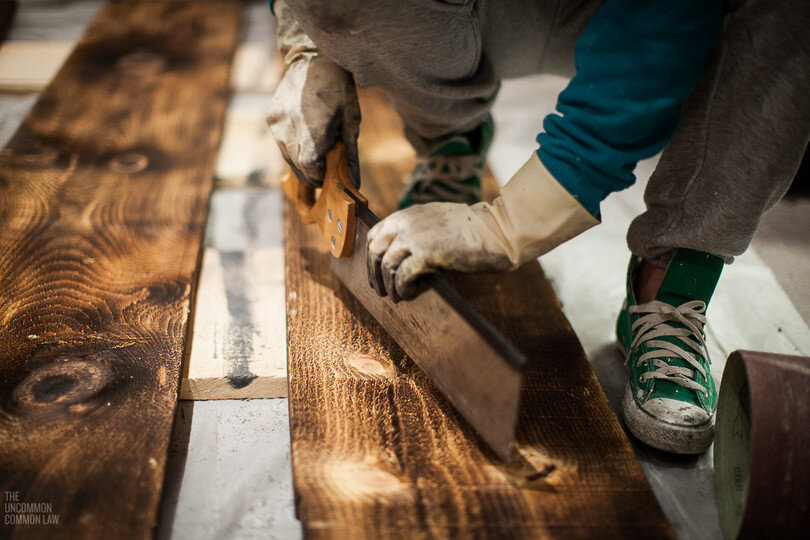
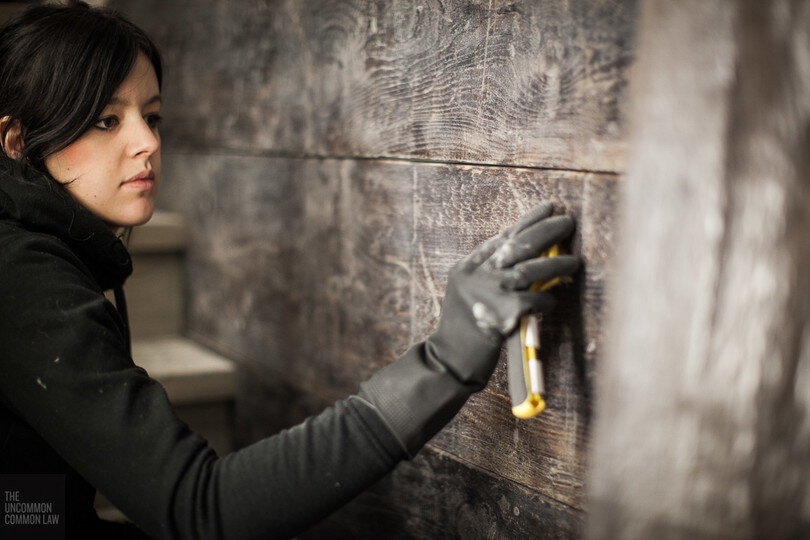
We used full measure rough pine we found at Home Depot. This is full of knots and raised grain. It has a great rough cut texture and some pieces even have dents/impressions from machine rollers. We cut the wood pieces to fit the wall/staircase first, numbering each piece to remember where they went. You should make your cut outs for electrical boxes at this stage too. Note that you will need to add junction box extenders to account for the thickness of the wood. Once all the pieces were cut, we mounted them by drilling pilot holes and screwing them to the studs with drywall screws. We used drywall screws because of their dark colour, which would match the finished burned colour. Buy screws long enough to bite into the studs at least 1/2", accounting for the thickness of your wood and drywall.
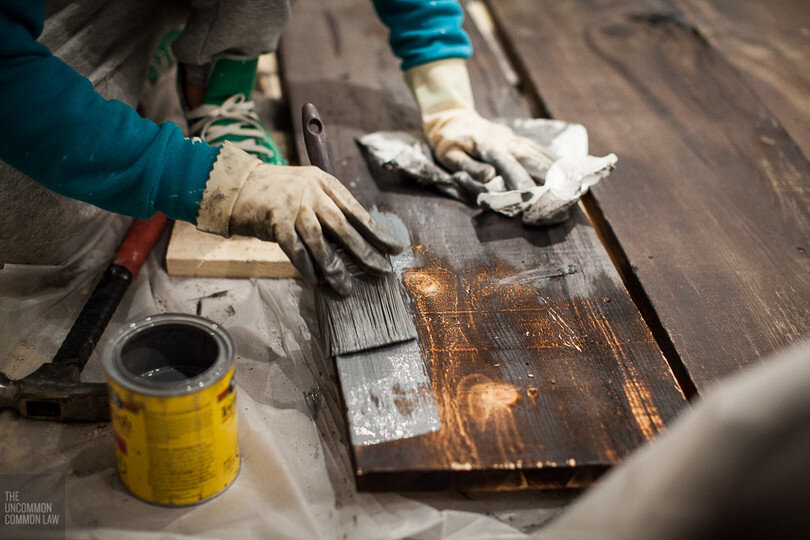
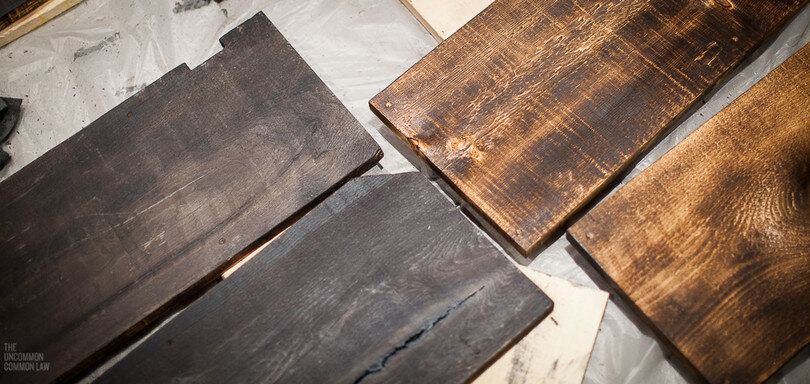
Test
We used two of the full 12' boards to make test swatches for developing our process. We tested different burn amounts (light burn, medium burn, dark burn, double burn), various stains (pre and post burn), wiping stain off vs leaving it on, double burning, etc. We tested tons of combinations! The process that came closest to the dark gray look we had in mind was a medium burn, manually beat up the wood, stain with Minwax Classic Gray, then a light satin finish to seal it all in. As with any project, you should run a test scrap from start to finish to make sure the final result is what you want!