DIY Removable Truck Storage Platform F-150 WITHOUT Deleting Seats
Project Breakdown
I’ve become absolutely obsessed with overlanding over the last year, and over time I have come to find that the backseats of my F-150 become CHAOS during camping trips. I knew I needed some sort of Goose Gear style storage platform, but I didn’t want to remove my back seats. Below is a rundown of my project, as well as links to the original!
Disclosure: This post contains affiliate links. By purchasing through our affiliate links, you are directly supporting us as creators! So thank you!
But first, Credit
Shout out to Joe from BlackCOTaco for the inspiration on this project. I came across his build video where he made a platform for his Tacoma, and I was able to use his video and blog post as a guide for my project. A step-by-step tutorial can be found on his website.
My Version
While Joe and I have different rigs and therefore different back seat configurations, I couldn’t use his exact design. However, I was able to use the same materials to make something that worked for me. You can watch us build the platforms on our YouTube channel. Below is a step-by-step tutorial and links to the original sources!
For my storage platform, I had a couple of must haves.
First, it must be easy to remove
Second, they must have lash points
Third, space to store things underneath
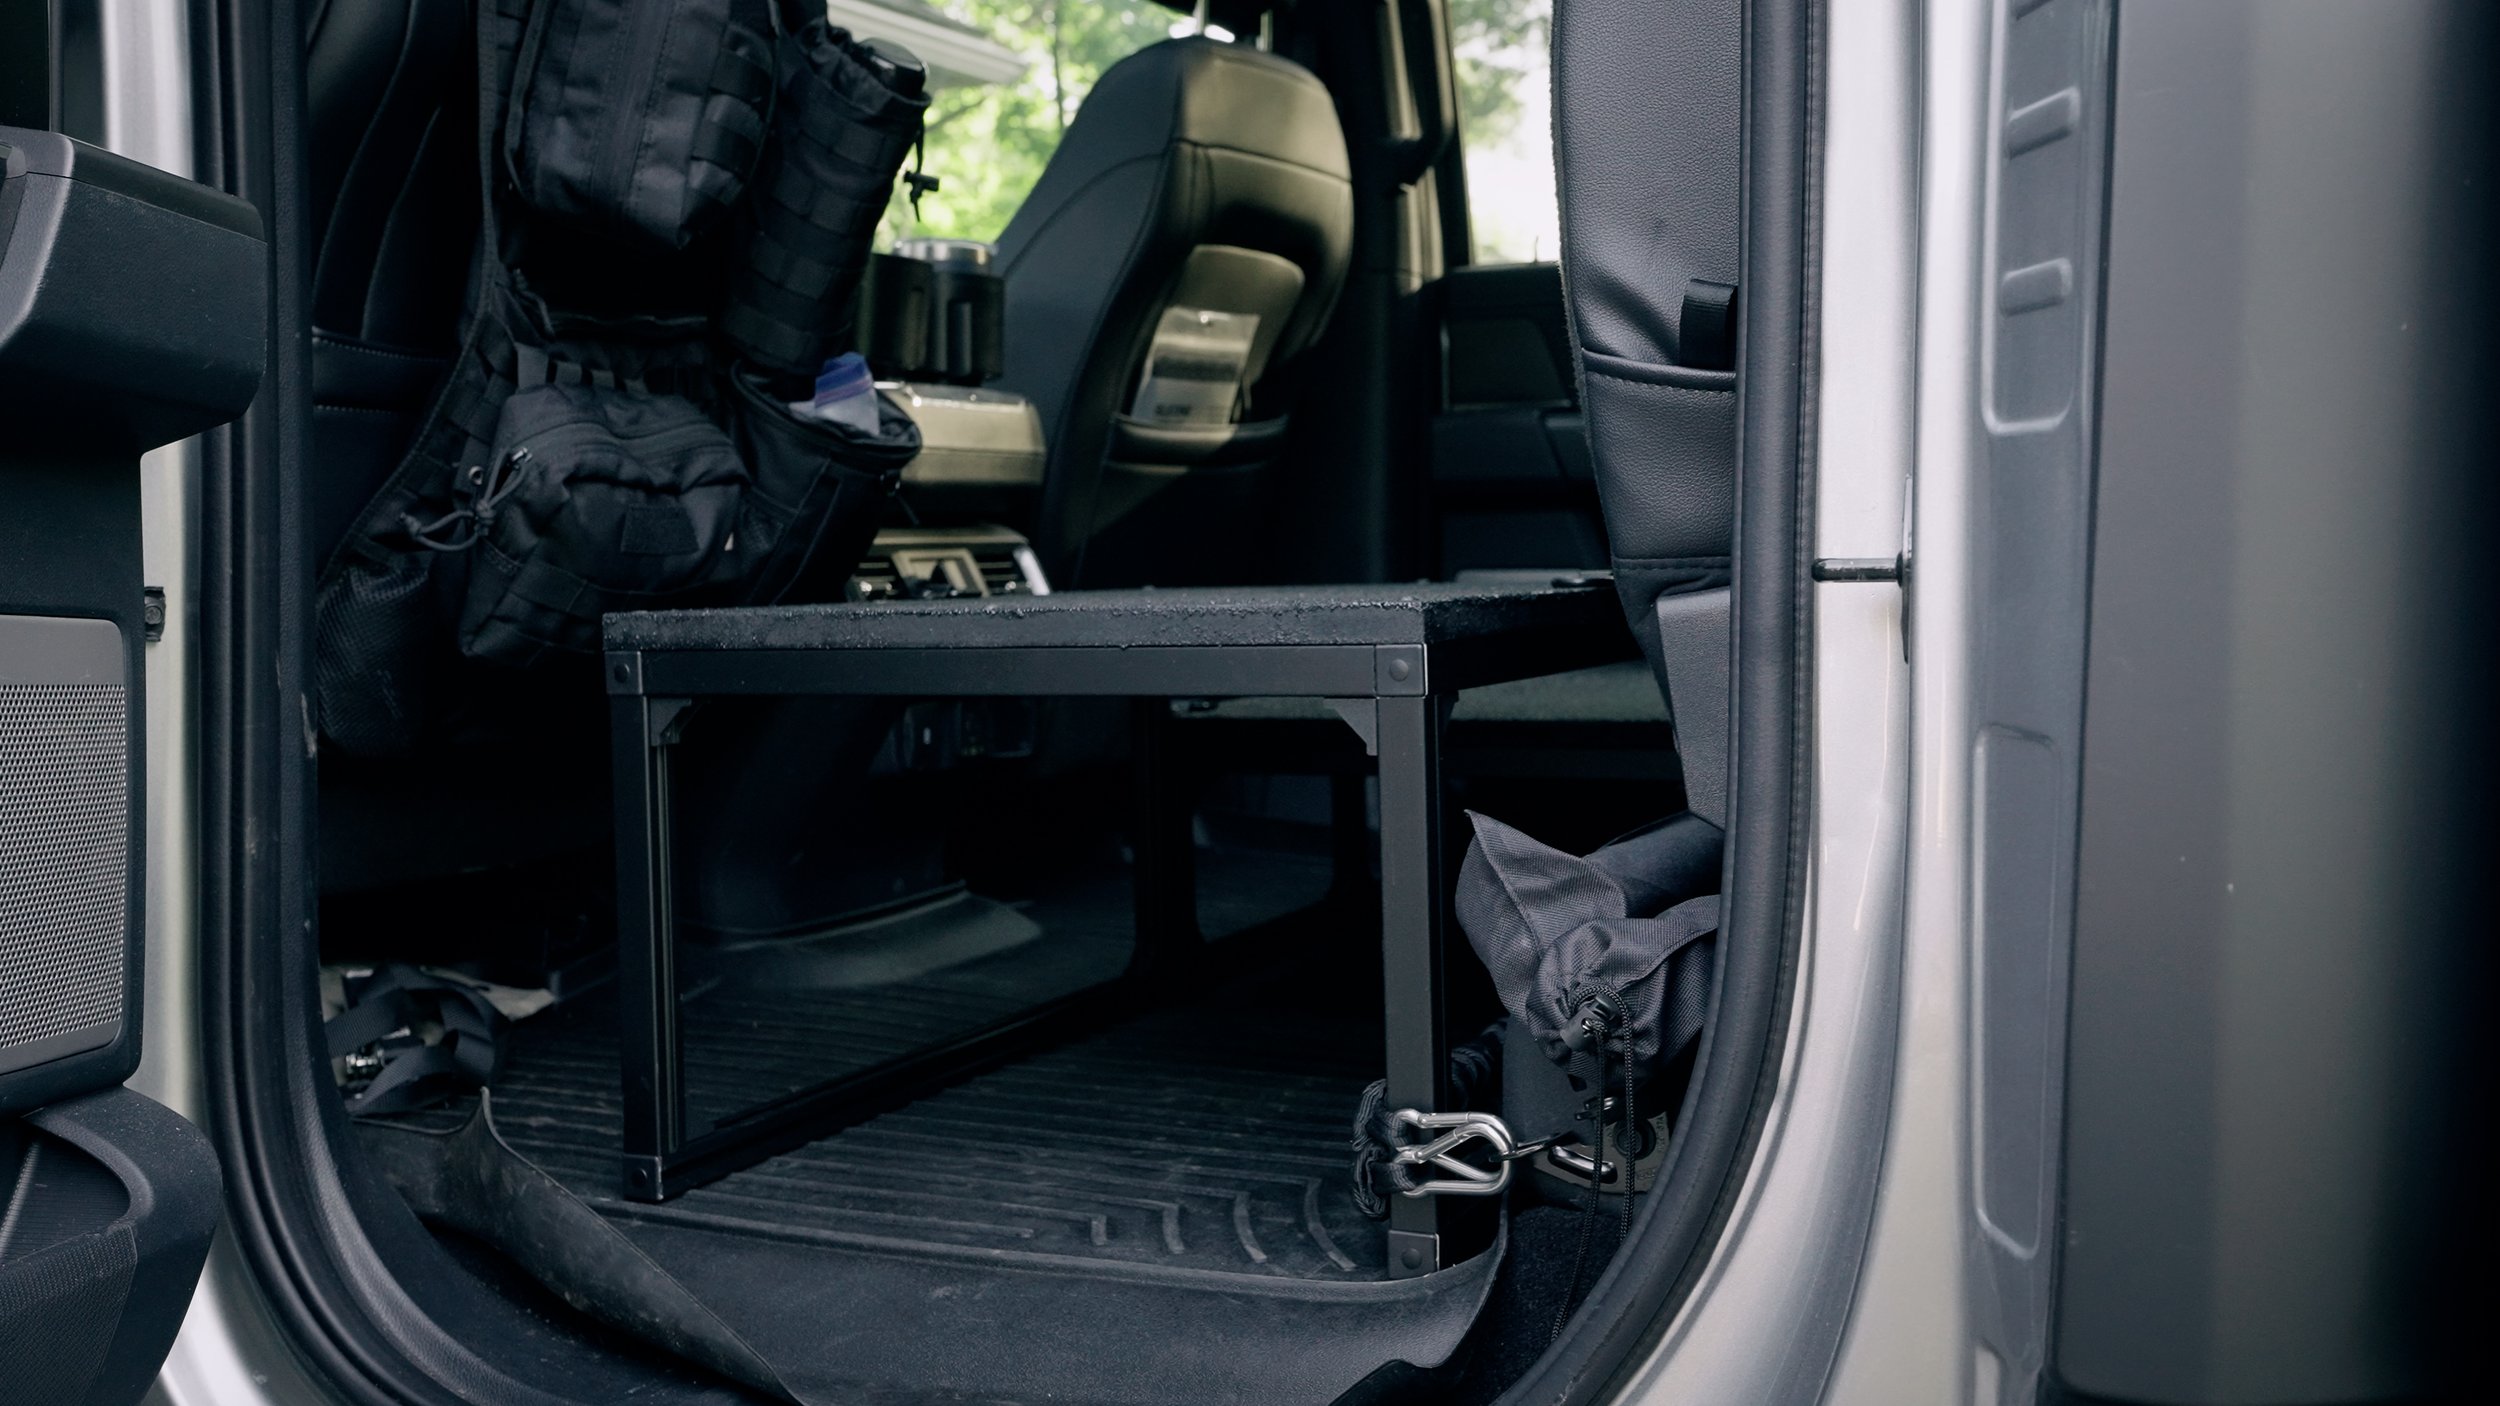
I ended up with two platforms. The passenger side is smaller and taller; this would be my sleep system and clothing storage side. The driver side is short and wide; this would be the food and fridge side. I kept the fridge platform short to maintain enough space to fully open the lid of my fridge. This platform is just tall enough to fit the Dometic Water Jug underneath.
Below are parts drawings for both platforms. I used MDF for the top because I had a large scrap laying around.
Parts
1/4-20 x 1-1/4" Button Head Socket Cap Bolts Screws (multiple lengths 1”, 1/2’”, 3/4'“)
Aluminum Extrusion Profiles Corner Brackets
Locktite
MDF cut to size
J-B Weld HERCULINER Truck Bed Liner
1" x 1" Smooth Tr-Slot T-Slotted Aluminum Extrusion (mutiple lengths)
Project Photos
Finished Platforms
I attached the platforms to the metal tie-down points under the seat with ratchet straps. Later, I might secure them with screws, but using straps makes them easier to remove. I’ll try this first to make sure nothing shifts while driving.
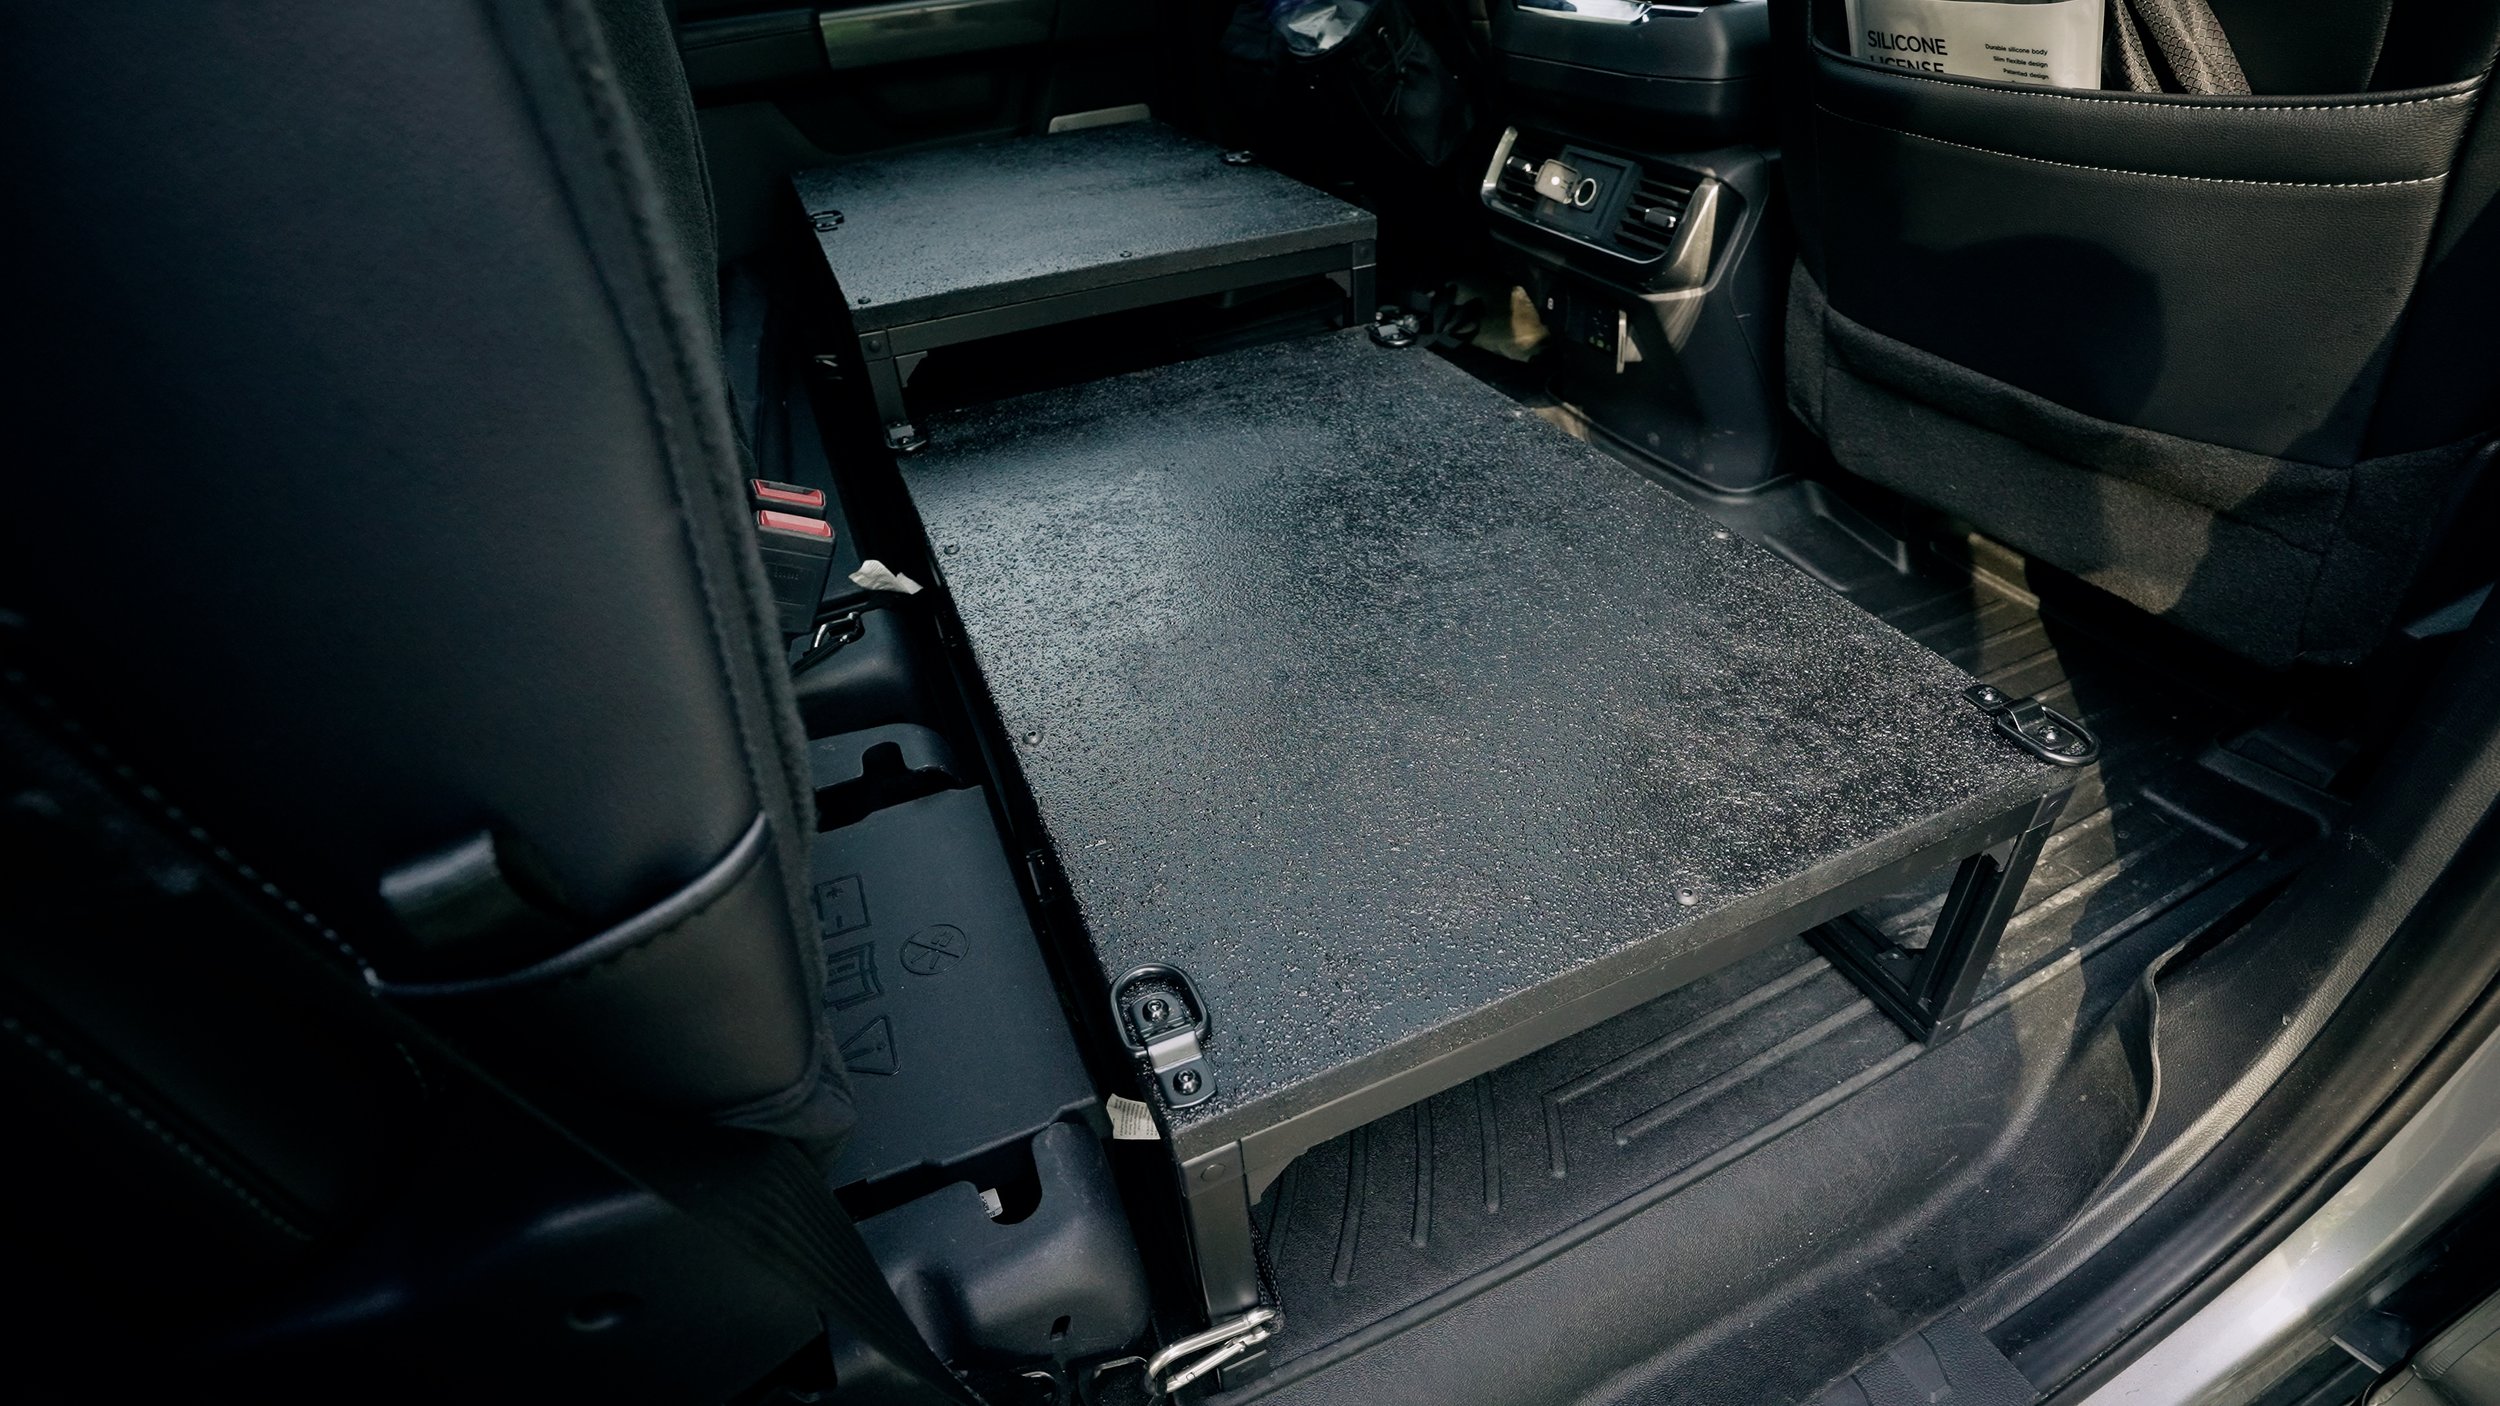
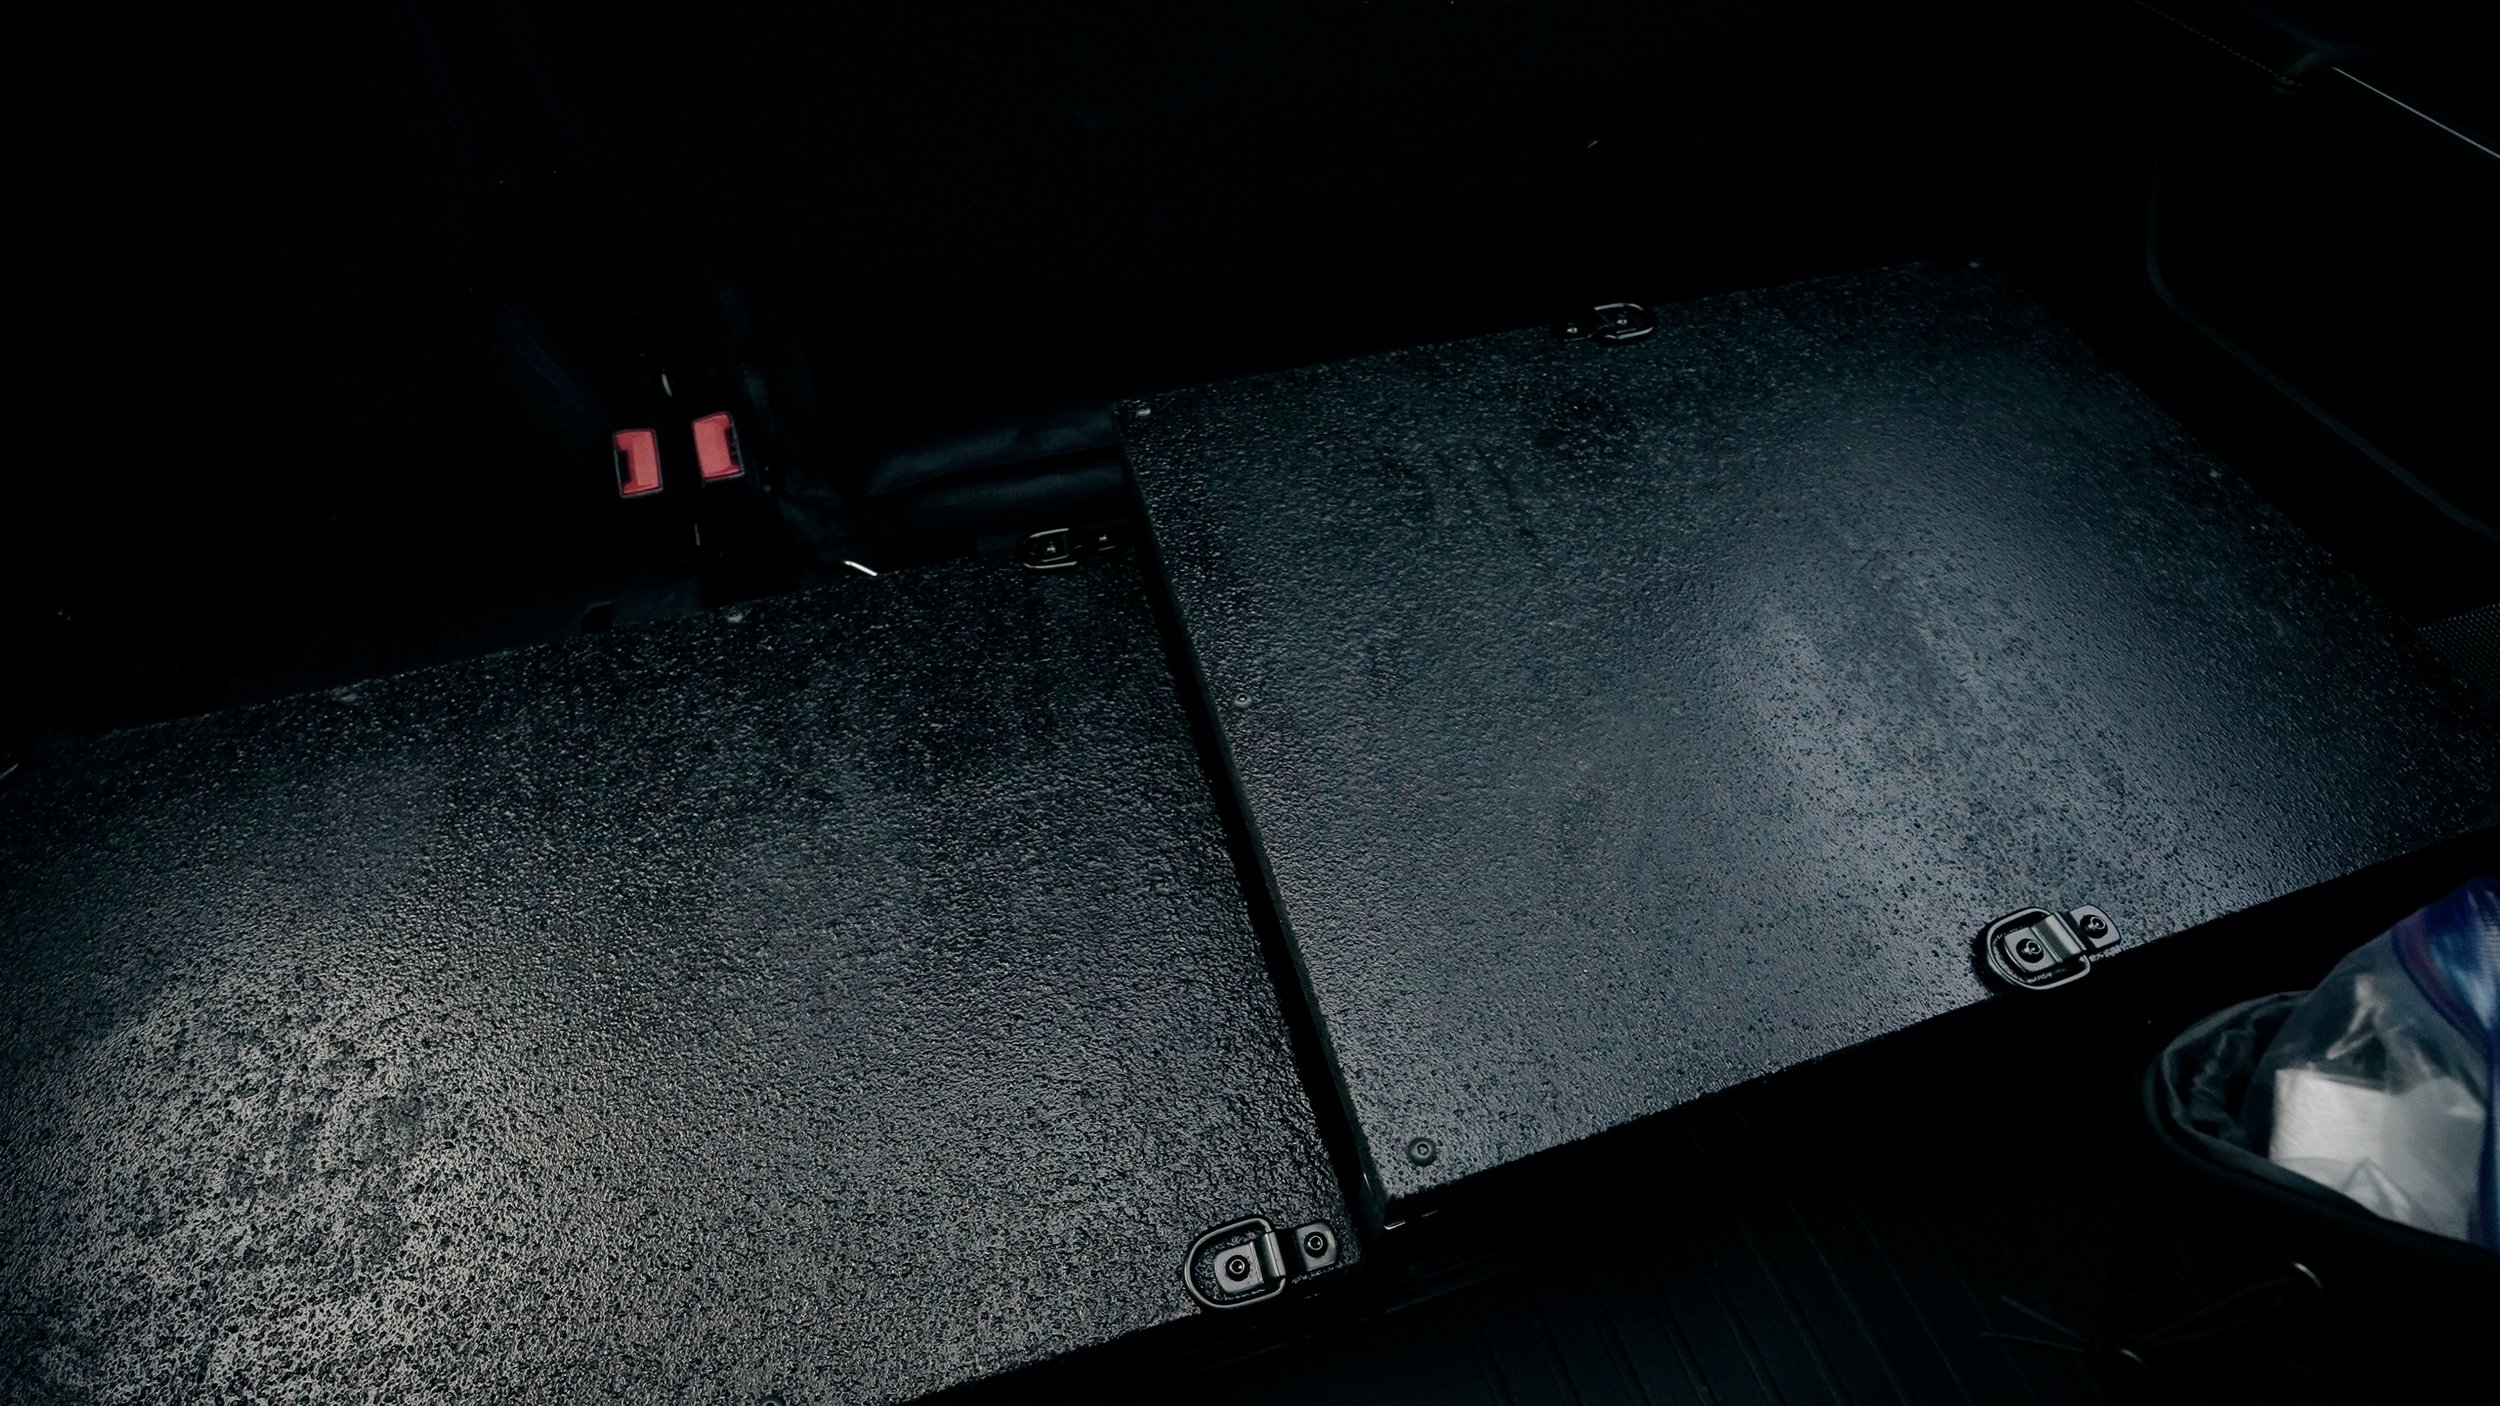
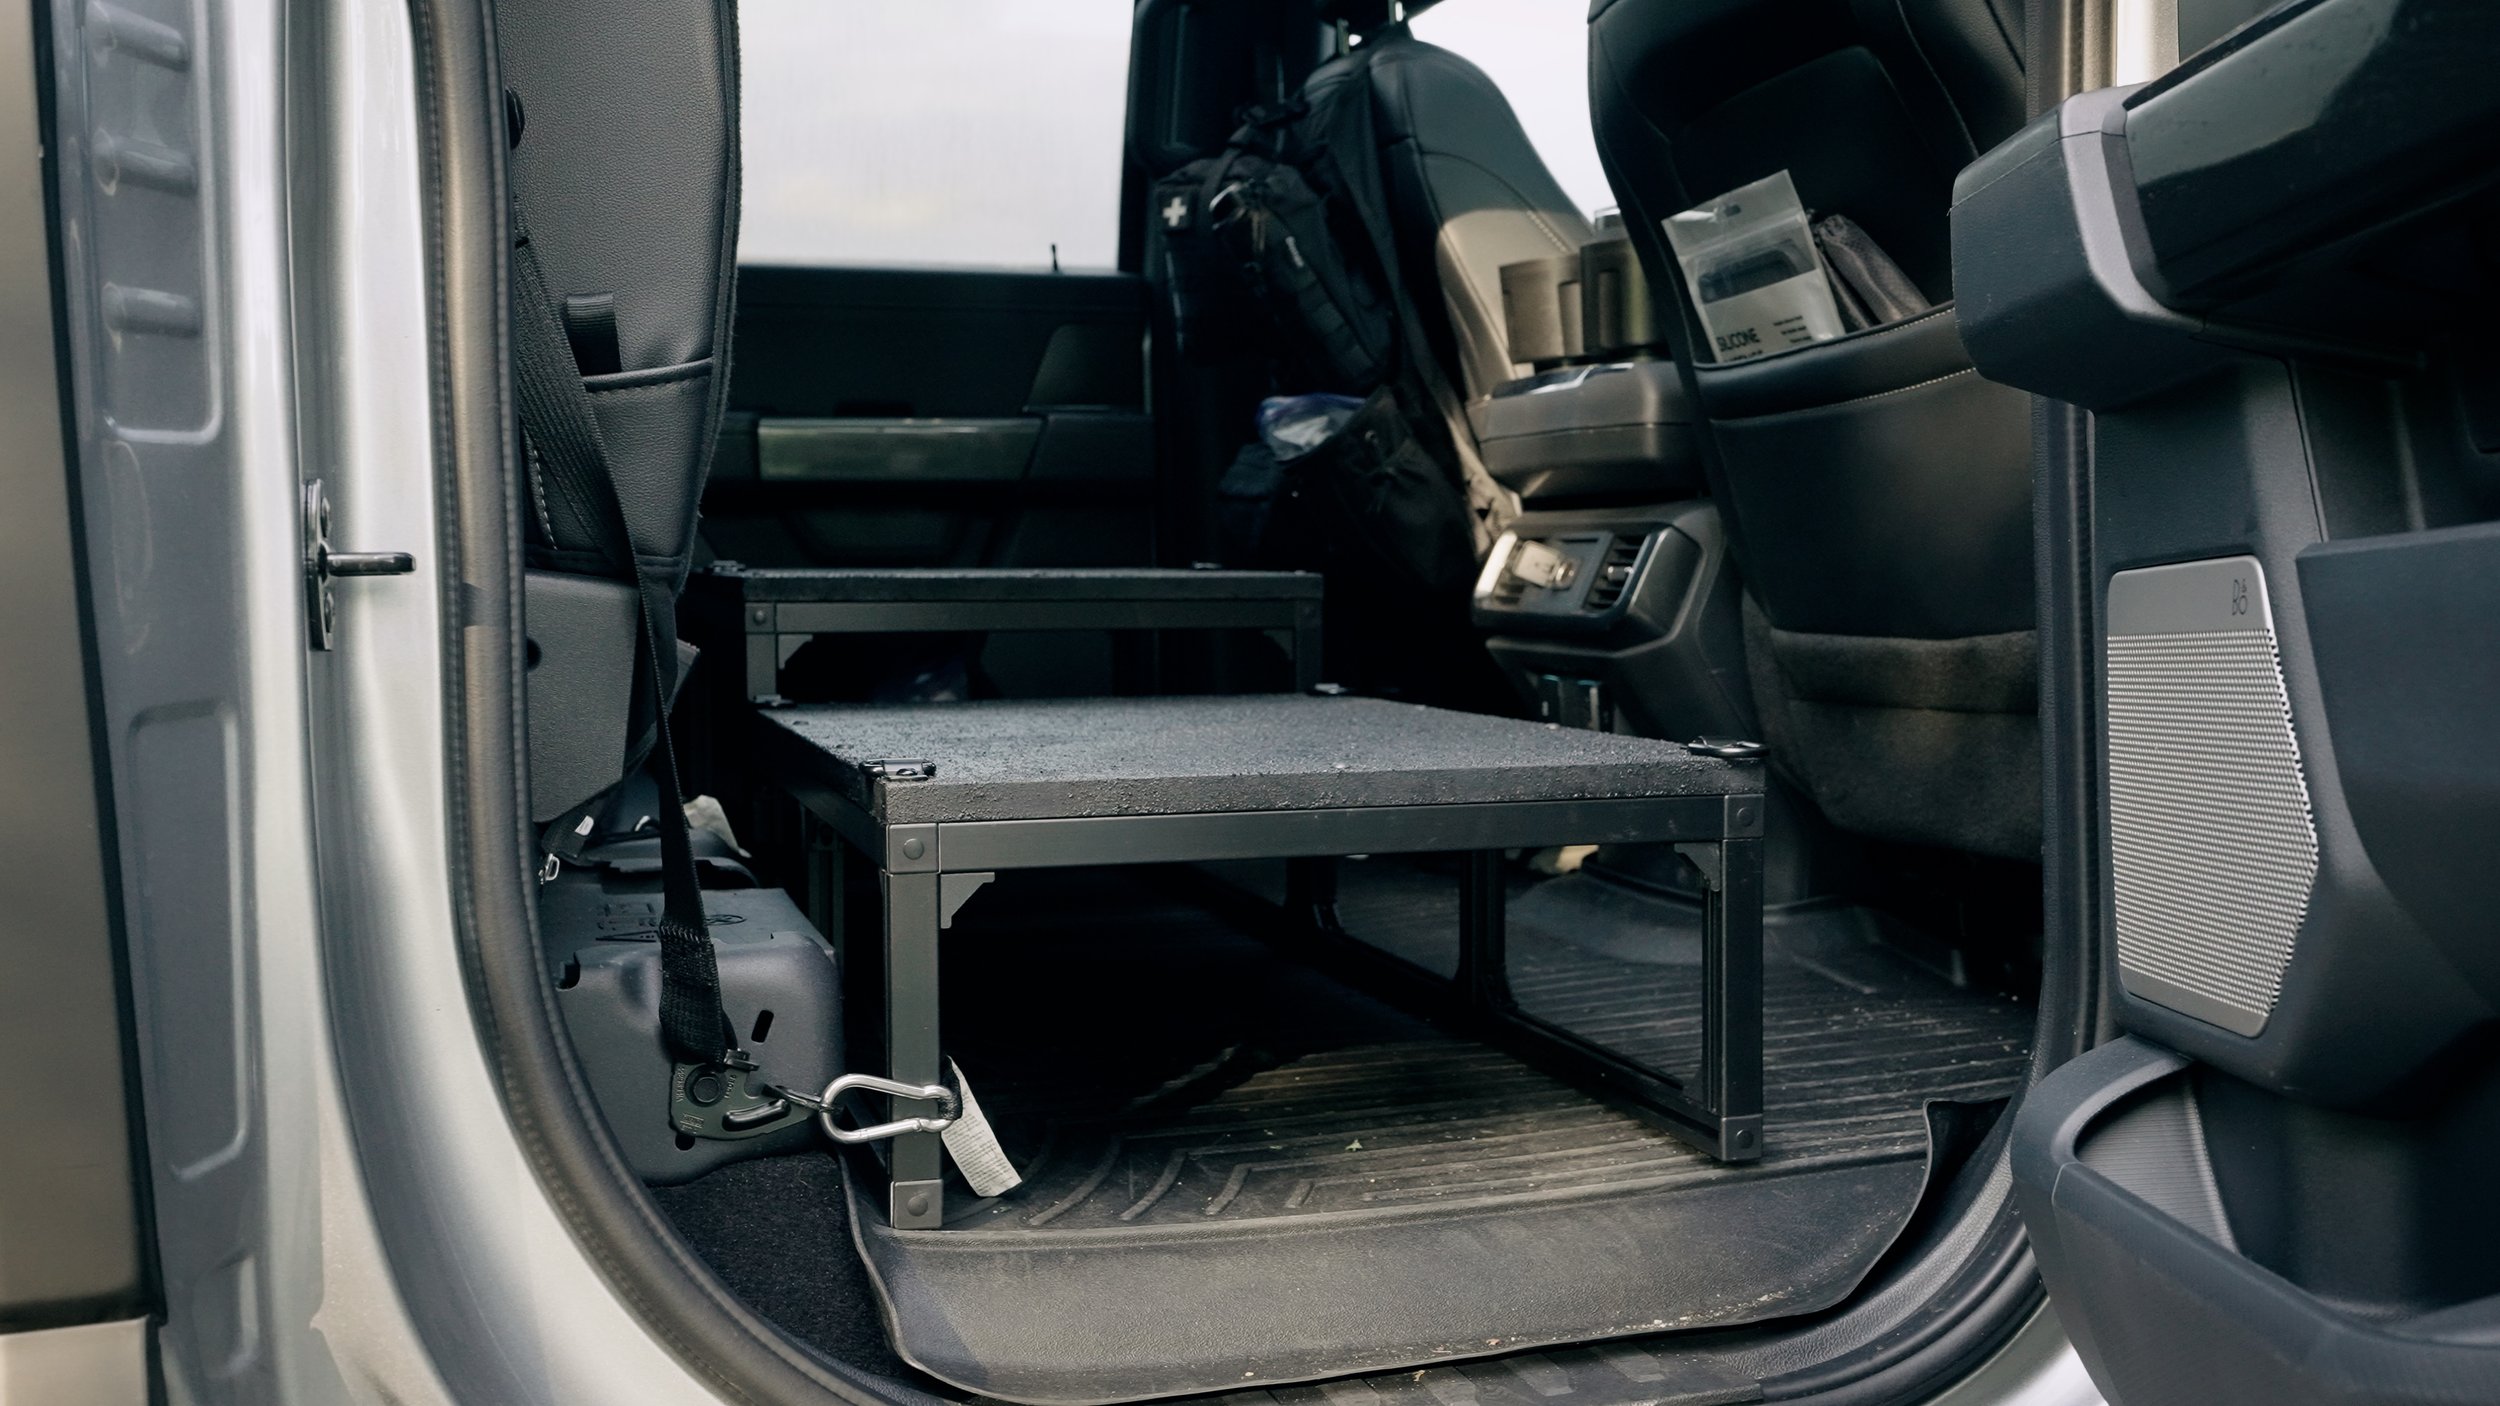
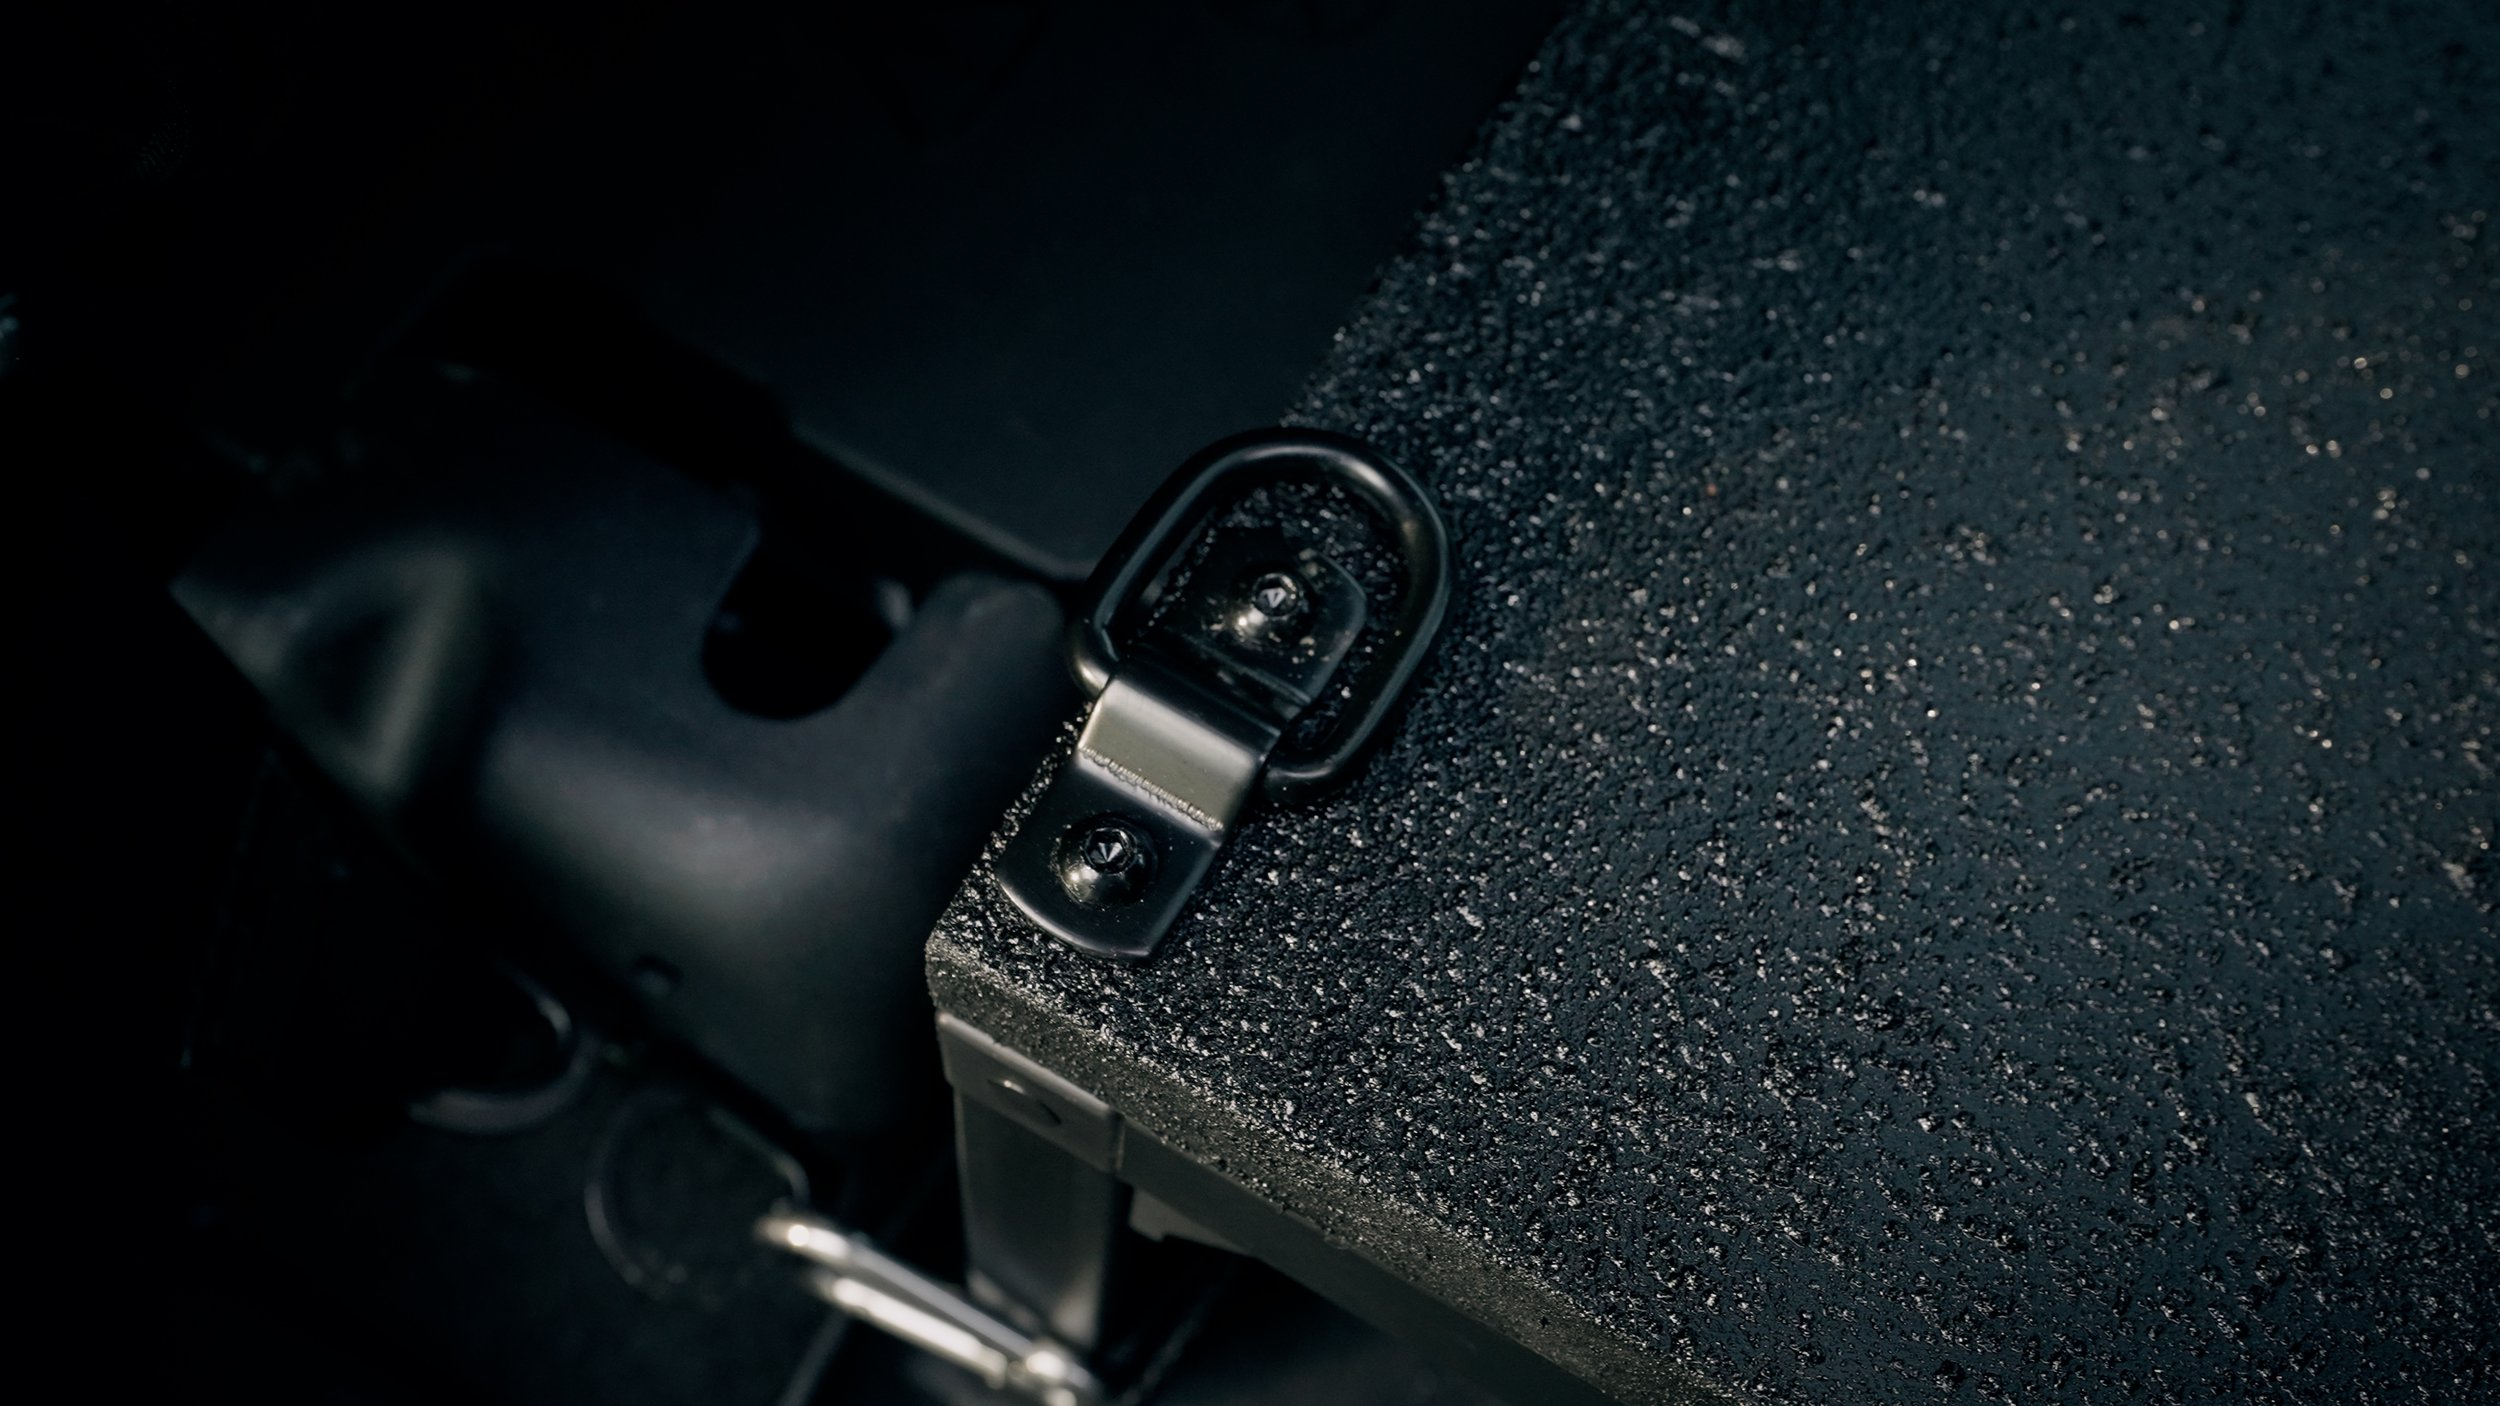
Final Build Out
The images below show my storage setup as intended. The fridge is on the shorter platform, while the clothing and sleep system are on the taller platform behind the driver.
Things to Note
Paint
If I had my time back, I’d likely paint the MDF with black bed liner spray paint, as the texture is less aggressive and the finish is more matte than the roll-on product. I thought I’d save time by not prepping the MDF and going for a quick sand followed by two coats of bed liner paint. While the textured finish will prevent things from sliding around, it doesn’t look as good as the paint Joe used in his project.
Assembly
I used hot glue to hold the t-nuts in place before drilling holes in the MDF and attaching the top. Without the hot glue, the t-nuts would slide around in the track and be impossible to attach. The hot glue had no structural purpose and served only as a set of fingers holding things in place.
Truck Install
As I mentioned above, we installed these by ratchet strapping them to the tie-down points in the back seat. While it feels very sturdy for sudden stops, we need to test it off-road and over bumps to see how it holds up.
BECKI AND CHRIS
Instagram: https://www.instagram.com/beckiandchris
YouTube: https://www.youtube.com/c/beckiandchris
Twitter: https://twitter.com/beckiandchris


