
The Stairs Progress 1
Staircases are often neglected in renovations. They aren't really considered a "room" and therefore just don't get the same status as say a kitchen, bedroom, or bathroom. They aren't occupied for long periods of time and are merely viewed as passageways to other living areas. Yet they are used multiple times every day and rightfully should match the rest of your home's style. This is especially true in our case, where the split level layout of our house leaves at least one set of stairs visible at all times from all floors.

Planning
We decided that we would use the existing stringers and retrofit them with new solid birch treads and risers to match the adjacent birch hardwood flooring. The treads would feature a slightly eased square edge with minimal overhang for a modern, boxy look. We would remove the balusters and posts in exchange for thick frameless glass and wall mounted stainless steel rails. As with the rest of the house, we would pay particular attention to lighting. We would put three wall lights on each stair set and edge light the frameless glass with LEDs for optional mood lighting. How hard could all of this be? After all, we've tackled most of the main rooms so far; the stairs should be a weekend job, right? Wrong!
Demolition
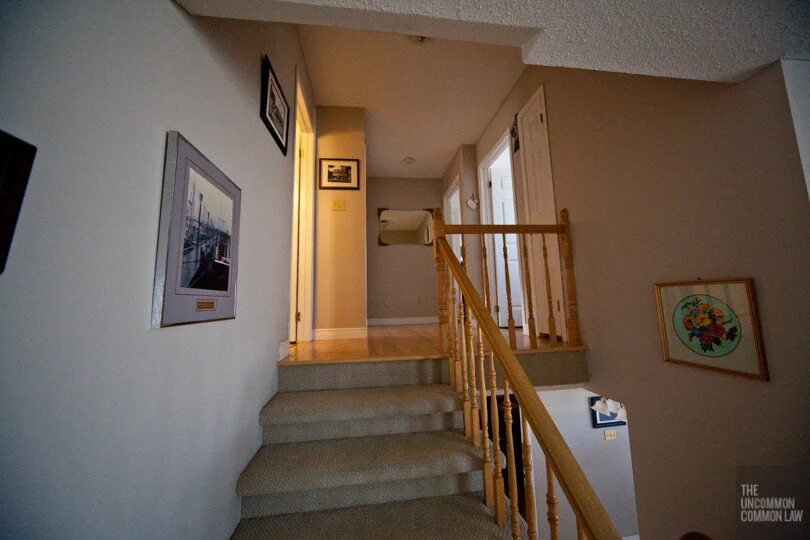
Once the initial ideas were solidified, we started with demolition, ripping out the old carpet, and removing the underlying treads. We also added in the wall lights at this stage. This alone made a huge difference to the look. With the stairs ripped back to the stringers, we were then able to take exact measurements. Referencing code recommendations for minimum tread rise and run, we I calculated the proper dimensions for the new treads and how thick the risers needed to be. We also realized that all the stairs needed to be raised so the top and bottom stairs were the same height. To accomplish this, we made some spacers that also functioned as temporary treads while our new ones were being made.

Treads
We had the treads custom fabricated by local shop Atlantic Woodworking. These guys were super accommodating; I told them exactly what we needed (clear coated natural birch, square edge, exact dimensions) and they delivered. We also had them make a custom square edged bull-nosing to match the square edge of the treads, again, supplying them with exact measurements. I should note that a few of the treads didn't quite match colour-wise due to natural variations in the batch of the wood (our floor was "select and better" yellow birch so it was fairly uniform in color), but they replaced these ones with no issue. Truly awesome people to work with.


Construction
As you can see in the pictures, since our new treads had minimal overhang, there were holes in the wall where the old treads were. This was a pain in the ass to fix, but nothing that couldn't be tackled with a bit of drywall and plaster. Note that for the cleanest and most uniform results, we made a template and replaced the whole section of drywall that contacted the stairs. We also made sure to add blocking between the studs for extra reinforcement since the stairs would directly meet the drywall with no trim for protection.

The old railing posts unfortunately were installed before the tiling was done in the front porch and flooring was installed upstairs and therefore left holes when the posts were removed. Luckily we found four matching spare tiles in the basement and had some left over hard wood planks from the kitchen floor to patch in.


I admit that months went by where the treads were just loosely placed on top of the spacers. It was a bit of a death trap. I didn't get around to actually securing them until November/December 2013, when Becki gave me an ultimatum that we were having people in over the holidays and they had to be done. I screwed and PL'd the new treads to the spacers/fake treads underneath. I also screwed through the back of the risers directly into the rear of the new treads for added stability. Pilot holes were drilled to prevent the wood from splitting.

That covers the replacement of the stairs themselves; keep an eye out for our next post on how we tackled the rails and glass!